I have an MacBook that’s about 8 years old – practically dead in Apple years. I had stop using it regularly about 4 years ago when Apple decided to stop supporting OpenGL which broke a lot of the games I play. I still used it for random things every now and then, but all the constant os updates and now bloated and sluggish macOS made it impossible for day-to-day stuff.
I had been thinking about installing Linux on it for a while now, but avoided it because installing non-Apple operating systems on a Mac is always a bit of a pain. But the straw that broke the camel’s back was when I went to use it the other day – it had been a couple weeks – and it absolutely refused to connect to the WiFi.The issue: one of my neighbor’s has a misconfigured wireless device that has it’s Country Code set to Germany. Apparently this is a common problem, and Apple’s advice is to reconfigure or dispatch the offending device. Difficult if it’s not your device. Yet another one of those snotty Apple annoyances.
With the very real prospect of never being able to connect to the WiFi again looming over me, I decided that now might be a good time to try Linux out on a Mac. While the whole process took about 2 days for me due to exploring and whatnot, the streamlined process below should take you about an hour. If you have a newer Mac, you *shouldn’t* have to do this. But I don’t have one to test this out on so I don’t know.
Step 1: Create a USB Boot Disk
I have another Linux laptop and a hand full of USB Thumb Drives, so that wasn’t too much of a problem. You can just follow the instructions at https://ubuntu.com/tutorials/create-a-usb-stick-on-ubuntu#1-overview.
Step 2: Go get rEFInd DEB Package
rEFInd is a boot manager with a lot of neat features, one of them being able to be installed on an HFS+ partition. Even though the Mac hardware should be able to read a EFI Boot Partition in FAT32 and start GRUB, it REALLY wants a HFS+ partition. “No worries,” you think to yourself, “I’ll just format the EFI Boot Partition HFS+.” But the GRUB Installer doesn’t seem to like HFS+. That’s where rEFInd comes it. It can be put on an HFS+ EFI Boot Partition and be started by the Mac hardware just fine. You can get the rEFInd DEB Package at http://www.rodsbooks.com/refind/getting.html. Put that on a separate USB Drive – we’ll use it in a minute.
Step 3: Boot the USB and Install Linux
Power off your Mac, insert the bootable Ubuntu USB, and then power on the Mac while holding down on the left Option (or Alt if your using a PC keyboard) key. You should be able to choose to boot the External USB. Once it gets going, select “Try Ubuntu” to get the desktop environment going. From there, start the Ubuntu install. When you’re done, it’ll drop you back onto the Desktop.
Step 4: Install rEFInd
Remember that DEB file we put on the other USB? Go on and insert that guy and copy the DEB file to the desktop. Don’t try and install it by double-clicking; you’ll need to install from terminal:
sudo dpkg -i refind_0.13.2-1_adm64.deb
This will format the EFI Boot Partition in HFS+, copy rEFInd onto it, “bless” the folder, and some other magic.
Step 5: Profit!
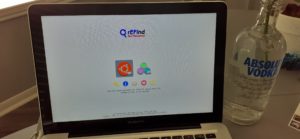
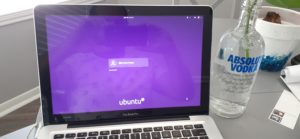
That’s it. You should be able to reboot and you’ll get the rEFInd menu where you can select and load Ubuntu. If you didn’t wipe the drive and still have other OS’s on there, they should show up too.
There’s still other things you’ll have to do, like Enabling Proprietary Drivers, but not too much more.
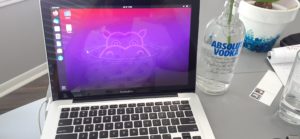
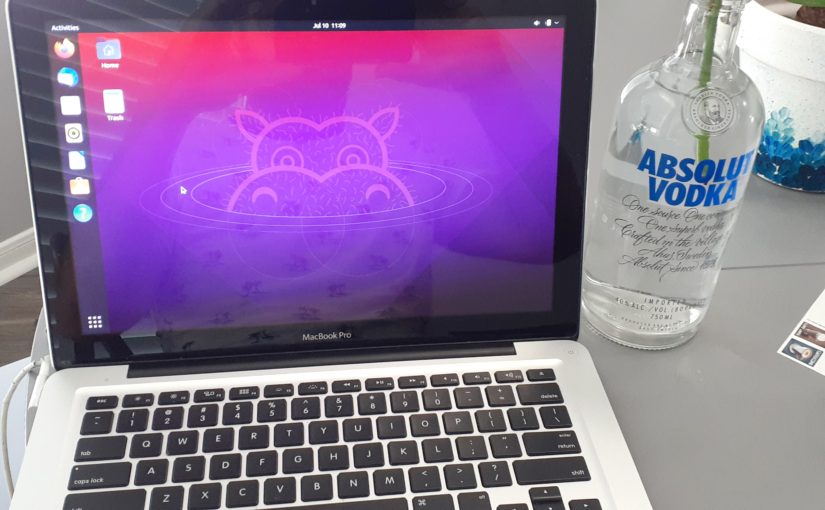
Is it worth it? Well … I booted into Linux and everything seems to be running smoothly. I forgot how much a nice display can make an OS look … brighter? So hopefully this will help me get a few more years out of this laptop!
Hat Tip to: Rodrick Smith (rEFInd)